Congratulations on taking the first step towards mastering your photography skills! In the pursuit of capturing stunning images, one often underestimated factor is the way you hold your camera. A steady grip and stable posture play a pivotal role in ensuring the sharpness and clarity of your photos. In this comprehensive guide, we’ll explore various techniques for holding your camera to guarantee crisp and clear images every time you click the shutter.
Table of Contents
Understanding the Importance of Stability
Before we delve into specific techniques, let’s emphasize the significance of stability in photography. Camera shake is a notorious culprit behind blurry photos, often resulting from improper handling of the camera. By maintaining a stable grip and posture, you can effectively minimize shake and elevate the sharpness of your photographs.
The Fundamentals of Holding a Camera
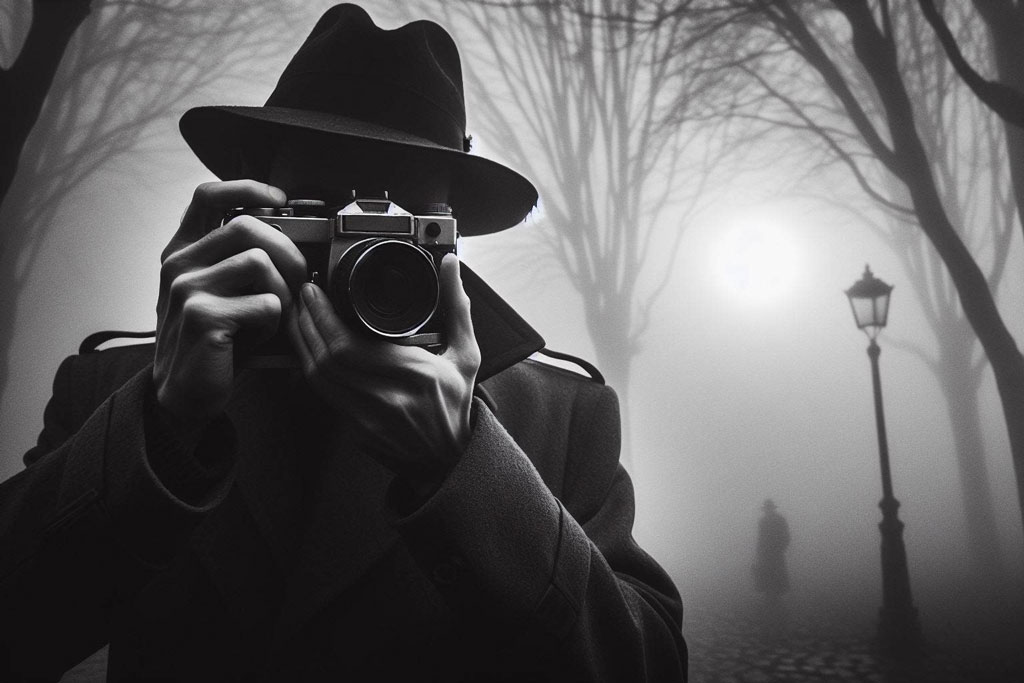
To lay a strong foundation, let’s review the fundamental principles of holding a camera: a. Grip: Begin by grasping your camera firmly, ensuring a secure yet comfortable hold. Avoid gripping the camera solely with your fingertips, as this may introduce instability. b. Body Position: Stand with your feet shoulder-width apart to establish a stable stance. Keep your elbows close to your body, effectively anchoring the camera and reducing unwanted movement. c. Breathing Technique: Implement a steady breathing pattern, inhaling deeply and exhaling slowly as you prepare to capture the shot. This controlled breathing helps minimize any residual motion, resulting in sharper images.
Techniques for Holding the Camera
Now, let’s explore specific techniques for holding the camera in various shooting scenarios:
Standing Up
- Elbows In: Maintain a tucked-in position for your elbows, minimizing swaying movements.
- Dual-Hand Support: Utilize both hands to support the camera, with your left hand cradling the lens for added stability.
- Lean In: Lean slightly forward, engaging your core muscles to create a stable platform with your body.
Sitting Down
- Legs Crossed: When seated, cross your legs to establish a sturdy base and prevent unnecessary shifts in posture.
- Elbows Supported: Rest your elbows on your knees or a stable surface to provide additional support and minimize camera shake.
Lying Down
- Ground Support: If shooting from a prone position, utilize your elbows and forearms to prop yourself up, ensuring a steady foundation.
- Arm Position: Keep your arms close to your body to reduce shake and maintain stability while capturing the shot.
Additional Tips for Sharp Photos
- Shutter Speed: Adjusting your shutter speed can significantly impact the sharpness of your photos. Opt for a faster shutter speed to freeze motion and minimize blur, especially when capturing fast-moving subjects or shooting in low-light conditions.
- Image Stabilization: Take advantage of your camera’s built-in image stabilization feature, if available. Enabling this function helps counteract camera shake, resulting in sharper images, particularly when shooting handheld or in challenging lighting situations.
- Tripod Use: When stability is paramount, nothing beats the reliability of a tripod. Invest in a sturdy tripod and use it to stabilize your camera, especially during long exposures, low-light photography, or when shooting with heavy equipment. A tripod ensures steady, shake-free shots, allowing you to achieve optimal sharpness and clarity in your images.
Practice Makes Perfect
As with any skill, mastering camera stability requires practice and experimentation. Take the time to familiarize yourself with different holding techniques, shutter speeds, and equipment options. Be patient with yourself as you refine your skills and discover what works best for you. Through consistent practice and dedication, you’ll soon gain confidence in your ability to capture tack-sharp photos that truly stand out. So, grab your camera, embrace the learning process, and unleash your creativity one sharp photo at a time!